When I edited my first video years ago, it took me four hours just to trim a 12-second clip. I had no idea what I was doing. I was confused by the timeline, scared to tap anything, and honestly wondered if video editing was “only for creative people.”
But today — after hundreds of edits — I’ve realized one thing:
👉 CapCut is not just an editing app. It’s a creative companion.
👉 And beginners are usually just one good guide away from making amazing videos.
So I wrote this page the way I wish someone had written one for me back then — slow, detailed, personal, and filled with real human advice that makes editing easier, not harder.
Let’s start your journey properly. ❤️
1. Spend Time Getting Comfortable With the Interface

Before you try to create magic, just breathe and explore the app.
Tap the icons. Open the menus. Move your video clips around.
Think of it like settling into a new home — you don’t start decorating until you know where the rooms are.
The more familiar CapCut feels, the more confident your decisions become.
Nobody becomes fast at editing on day one. And that’s okay.
2. Always Record the Highest Quality Footage You Can

Here’s a simple truth I learned the hard way:
If the original video looks blurry, no amount of editing will save it.
So when recording, try this:
- Clean your camera lens (yes, it actually helps a lot).
- Use natural light — even standing near a window changes everything.
- Don’t zoom digitally, walk closer instead.
- Record in 1080p or 4K whenever possible.
Good editing starts long before you open CapCut.
3. Zoom Into the Timeline — It’s Your Secret Weapon
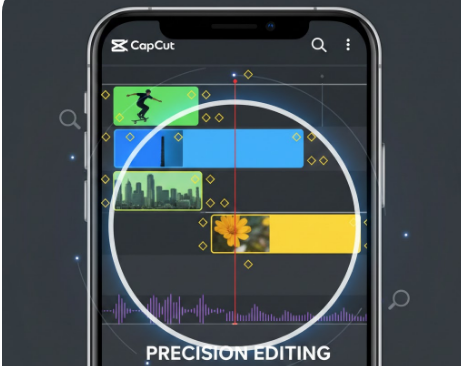
Most beginners cut clips in “zoomed-out” mode, and that’s why edits look rough.
Zooming in lets you trim clips with surgeon-level accuracy.
When you zoom fully in, you can remove tiny pauses, stutters, and unnecessary half-seconds that make a video feel slow.
Small details create big professionalism.
4. Remove Anything That Doesn’t Serve the Story

I know how it feels — you record something, and emotionally you want to keep everything.
But your viewers don’t feel the same attachment.
Great videos are not about what you keep.
Great videos are about what you remove.
Cut out the:
- Awkward breathing gaps
- Long silences
- Flipped words or mistakes
- Random shaky walking
- Repeated gestures
Every second should feel intentional.
5. Use Auto-Captions, Then Give Them Your Personal Touch
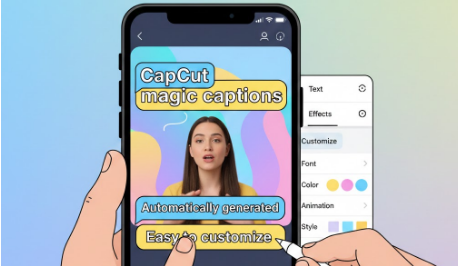
CapCut’s auto-caption feature is like having a helper who makes mistakes with confidence.
It’s fast — but sometimes hilariously wrong.
So always review each line.
Fix the punctuation. Shorten sentences. Add your personality.
And don’t be afraid to style your captions. A bold font or a soft color palette can change the vibe of the entire video.
Captions aren’t just text — they’re part of your identity.
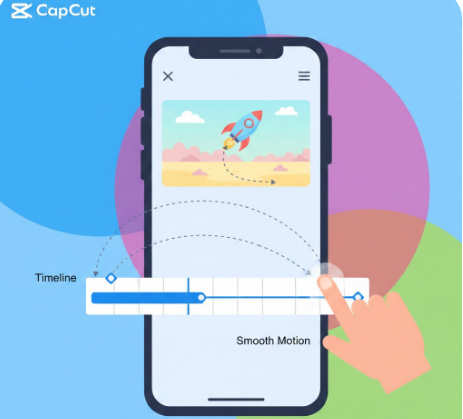
6. Learn Keyframes Slowly, Not Fearfully
The first time I saw keyframes, I closed the app.
I didn’t understand them. I thought they were “too advanced for me.”
But keyframes are actually simple.
They tell CapCut: “Start here… then end here.”
They help you create:
- Gentle zoom-ins
- Smooth pan movements
- Floating text animations
- Cinematic transitions
Start with one small movement.
You’ll be shocked at how much it changes your video.
7. Treat Color Grading Like Makeup for Your Video
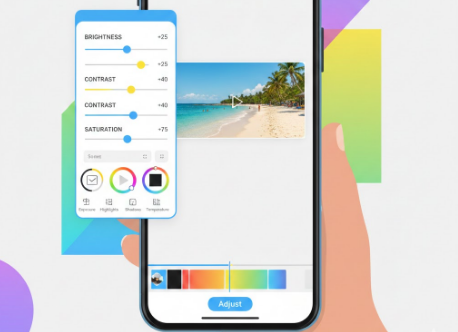
Color grading is not about filters — it’s about creating emotion.
A warm tone feels nostalgic.
A cool tone feels modern.
High contrast feels dramatic.
Soft contrast feels dreamy.
Adjust your clip slowly.
Stop when it feels “right,” not when it looks overly edited.
Your eyes know the answer more than the sliders do.
8. Use Transitions Like Salt — Just Enough to Make It Better

The biggest beginner mistake?
Using every fancy transition available.
Transitions should support your story, not become the whole story.
Instead of spinning, flipping, or exploding transitions, try using:
- Fades
- Zooms
- Motion blurs
- Simple wipes
Your video will feel cleaner, calmer, and more professional.
9. Add Sound Effects for Subtle Magic
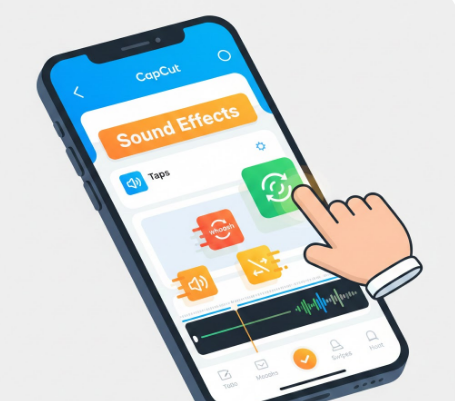
A video with no sound effects feels empty.
A tiny “tap,” a soft “whoosh,” or a quiet “swipe” makes your video feel alive.
Sound effects are tiny details, but viewers feel them deep inside.
Even if they don’t notice them, they feel the difference.
That’s the beauty of good editing — viewers enjoy something they don’t even consciously detect.
10. Keep Your Background Music Soft and Supportive
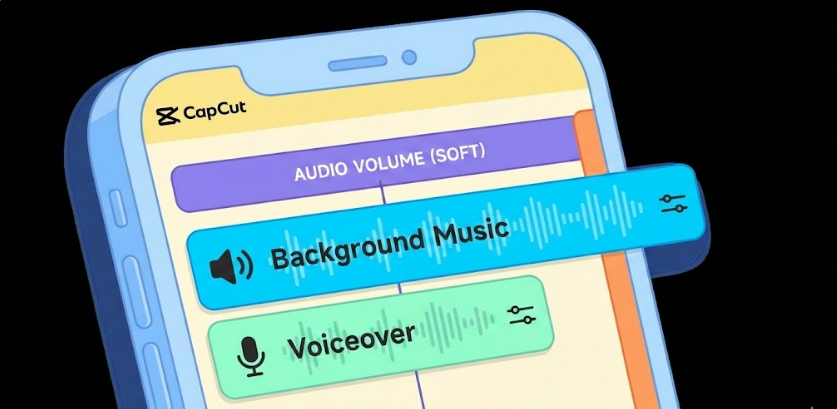
If your music is too loud, people scroll away.
Your voice must always be the priority.
Ideal volumes:
- Voice: full volume
- Background music: 5–15%
Music should support, not compete.
Good editors don’t just add music — they control it.
11. Use Noise Reduction, But Don’t Overdo It
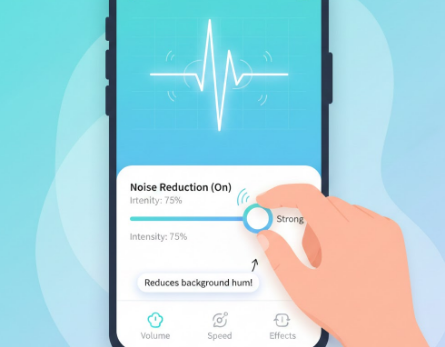
CapCut’s noise reduction is powerful, but too much makes your voice sound robotic.
Use it gently.
Think of it like seasoning — just enough to clear background noise like fans, traffic, or echoes.
A clean voice instantly makes your video feel premium.
12. Don’t Feel Ashamed to Use Templates
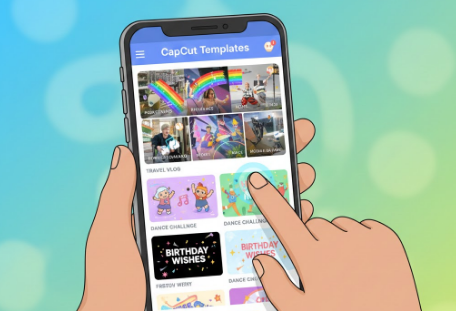
Let me say this clearly:
Using templates does NOT make you less creative.
Templates are tools, not shortcuts.
Every editor, even professionals, uses presets, templates, and references.
What matters is how much of your style you add to it.
13. Stabilize Shaky Clips to Protect the Viewer’s Eyes
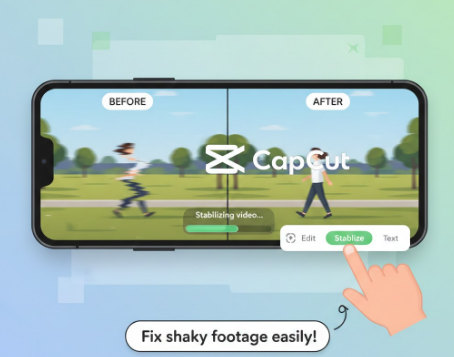
Shaky footage distracts people.
CapCut’s stabilize tool saves videos that might otherwise be unusable.
Just remember:
- “Minimal” for small shakes
- “Normal” for walking
- “Strong” for very shaky clips
But don’t over-stabilize — it can warp the edges.
Editing is about balance.
14. Try Masking to Unlock Your Creative Side
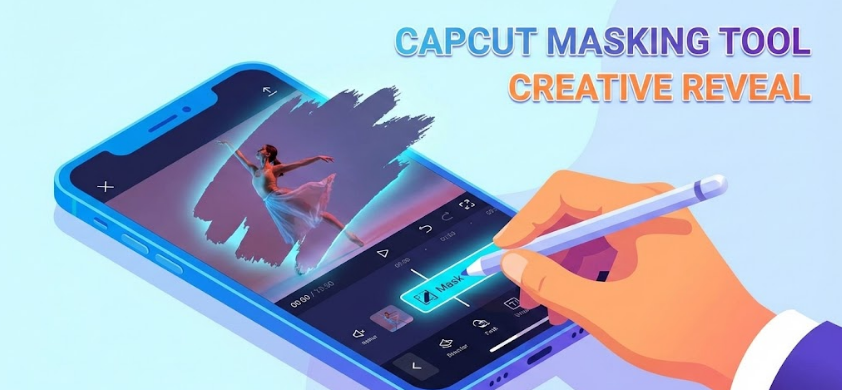
Masking feels like a secret door only advanced editors know about.
But once you understand it, a whole world of creativity opens.
You can create:
- Before–after comparisons
- Half-screen effects
- Cool split transitions
- Smooth reveals
Masking is playful, artistic, and extremely fun once you get the hang of it.
15. Add Overlays to Personalize Your Story
Overlays make your video feel layered and expressive.
Use them to add:
- Logos
- Emojis
- Animations
- Extra video clips
- Transparent PNG graphics
Think of overlays as stickers in your digital scrapbook — the more intentional they are, the better your edit looks.
16. Use Speed Ramping to Highlight Important Moments
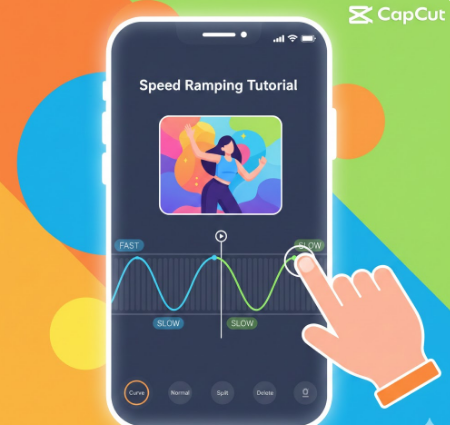
Speed ramping turns boring clips into cinematic moments.
Slow down the best part.
Speed up the less important parts.
It creates flow and rhythm — almost like dancing.
Good speed ramping feels emotional, not mechanical.
17. Keep Your On-Screen Text Short and Impactful
People don’t watch videos to read essays.
Short text is powerful text.
Use phrases like:
- “Watch this”
- “Step 1”
- “Before / After”
- “Quick guide”
Let the video speak more than your captions.
18. Always Export Using the Highest Settings
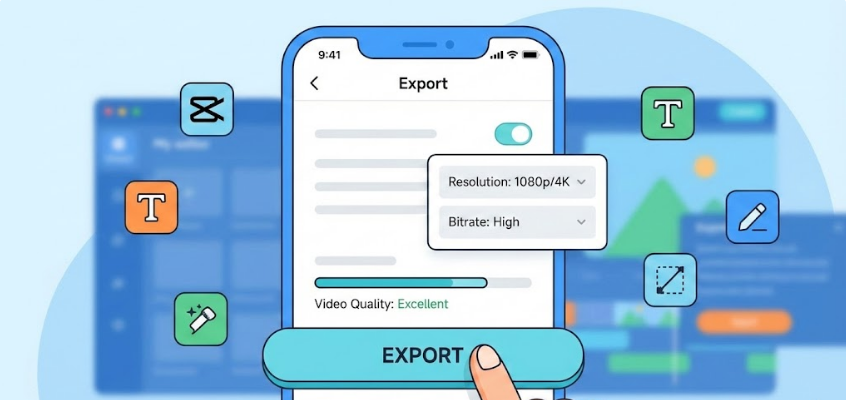
Your edit deserves to look its best.
Use:
- 1080p or 4K
- 60 FPS
- High bitrate
Even if your viewers don’t know the numbers, they feel the difference.
Crisp videos get more attention.
19. Save Your Favorite Edits as Presets to Build Your Style

If you found the perfect font, animation, caption style, or color filter — save it.
Editing becomes not just faster, but more personal.
This is how editors develop a recognizable aesthetic.
Your edits should feel like you.
That’s how you stand out.
20. Practice a Little Every Day, Even When You Don’t Feel Creative
Editing is a craft.
Just like drawing, cooking, or writing — the more you do it, the better you become.
Even 5 minutes a day trying a new feature will transform your skills.
Don’t chase perfection.
Chase progress.
One day, you’ll look back at your first edit and smile.
Because you’ll realize how far you’ve come.
Frequently Asked Questions (FAQ)
1. I’m new to video editing — is CapCut still the best app to start with in 2026?
Yes. CapCut is still the easiest starting point for beginners because it explains tools in simple language, feels smooth to use, and doesn’t overwhelm you with complicated buttons.
2. Do I need a high-end phone to edit properly on CapCut?
Not really. Even a mid-range phone can handle most CapCut features. You’ll only feel the need for a faster device if you plan to edit long videos or use heavy effects nonstop.
3. Why does my exported video look less clear than what I see while editing?
This usually happens due to low export settings, cropped footage, or wrong aspect ratio. Make sure you export in 1080p or 4K and keep your clips unzoomed as much as possible.
4. How do people make their CapCut videos look so professional?
Professional videos come from little things — cleaner cuts, stable footage, subtle transitions, and consistent colors. CapCut’s new tools like Motion Blur and advanced color grading help a lot in making videos look more “cinematic.
5. My CapCut keeps lagging while editing. What am I doing wrong?
It’s usually not your fault. The app lags when your phone runs out of RAM or storage. Closing background apps, clearing cache, or freeing some space almost always fixes this.
6. Are CapCut templates better than editing everything myself
Templates are amazing when you need something quick or trendy. But if you want your videos to stand out, manual editing helps you develop your own style. Most creators use both depending on the situation.
7. How do I stop background sounds like traffic or wind in my videos?
CapCut’s built-in Noise Reduction tool works surprisingly well. A quick adjustment can remove most unwanted noises and make your voice clearer instantly.
8. I can’t sync my video with the beat of the music. Is there an easy way?
Yes — CapCut’s Auto Beat Sync does the hard work for you. Just pick the music, hit the option, and it aligns the cuts perfectly with the beat.
9. Why does exporting take forever on my phone?
Export time depends on how heavy your edit is. Effects like motion blur, 3D zoom, and 4K resolution increase rendering time. Reducing them or switching to 1080p speeds up exports a lot.
10. Is CapCut safe for editing personal or private videos?
Yes, but turn off “Auto Cloud Backup” if you don’t want anything uploaded. For family videos or private clips, editing offline is always safer.
11. Can I use CapCut to make videos for clients or business work?
Definitely. Many freelancers use CapCut for reels, brand promos, and social media ads. It’s fast, convenient, and creates high-quality results without needing a laptop.
12. What common beginner mistakes should I avoid while editing?
The biggest mistakes are using too many transitions, mixing many fonts, color grading every clip differently, and ignoring audio quality. Keeping your edits simple and consistent always looks more professional.
13. What settings should I use for exporting Instagram Reels?
The best settings are:
- 1080p resolution
- 60 FPS
- High bitrate
These settings make your reel look clean when Instagram compresses it.
14. Why does my audio go out of sync after exporting?
This usually happens when your phone is overloaded with too many effects, layers, or background processes. Splitting your project or reducing heavy effects fixes this quickly.
15. Can I edit long 10–20 minute YouTube videos on CapCut?
You can, but it gets harder as the timeline becomes long and cluttered. CapCut is best for short-form videos like reels, shorts, intros, montages, and small story clips.
16. Can beginners really do color grading on CapCut?
Yes! CapCut now has pro-level grading tools like HSL, curves, and LUTs. You don’t need to be an expert — a little practice goes a long way.
17. What’s the fastest way to get better at CapCut editing?
Start with small clips. Practice transitions, sync simple cuts to music, try templates, and experiment with color presets. Short daily editing builds your skills way faster than trying a giant project at once.
18. My videos look cropped or stretched — how do I fix that?
Always choose the correct canvas size at the beginning:
- 9:16 for Reels & TikTok
- 16:9 for YouTube
- 1:1 for Facebook
The wrong aspect ratio makes your video lose quality.
19. Are CapCut’s AI tools actually useful for beginners?
Absolutely. AI tools like Auto Captions, Smart Cutout, and Beat Sync save tons of time and help beginners create professional-level edits without getting confused.
20. Is it worth learning CapCut in 2026, or should I switch to another app?
CapCut is still the easiest, most powerful, and most creator-friendly app in 2026. Whether you’re starting your editing journey or trying to grow on social media, it gives you everything you need without the stress of complicated tools.